
Creating and managing access lists
Access lists let you define precisely which SSO users can access your portal by controlling authentication against specific criteria: email addresses, SIRET numbers, INSEE codes, IP addresses, or free-text values. Rather than managing user by user, you build a centralized list of allowed values that you can update at any time, including by importing data in bulk from a file.
Once created, access lists can be used in the Access rules tab of your SSO identity provider configuration, to make authentication conditional on the values they contain.
The SSO feature is enabled on Advanced and Ultimate plans, and is otherwise available as an add-on.
Supported item types
Every access list has an item type that determines what kind of values it can contain. Huwise validates every item you add against the rules for that type.
You choose the type when you create the list, and these cannot be changed afterward.
Item type | Description | Example values |
Text | Standard alphanumeric text. Accepts any string up to 255 characters. |
|
SIRET | A 14-digit French business identifier. Validated with the Luhn algorithm. |
|
INSEE commune code | A 5-digit French geographic code for municipalities. |
|
A standard email address. Automatically normalized to lowercase when saved |
| |
IP address | An IPv4 or IPv6 network address. |
|
Choose the type that matches the identity attribute you'll compare against in your access rules.
Create an access list
The creation wizard walks you through three steps: choosing an item type, naming the list, and optionally importing initial items.
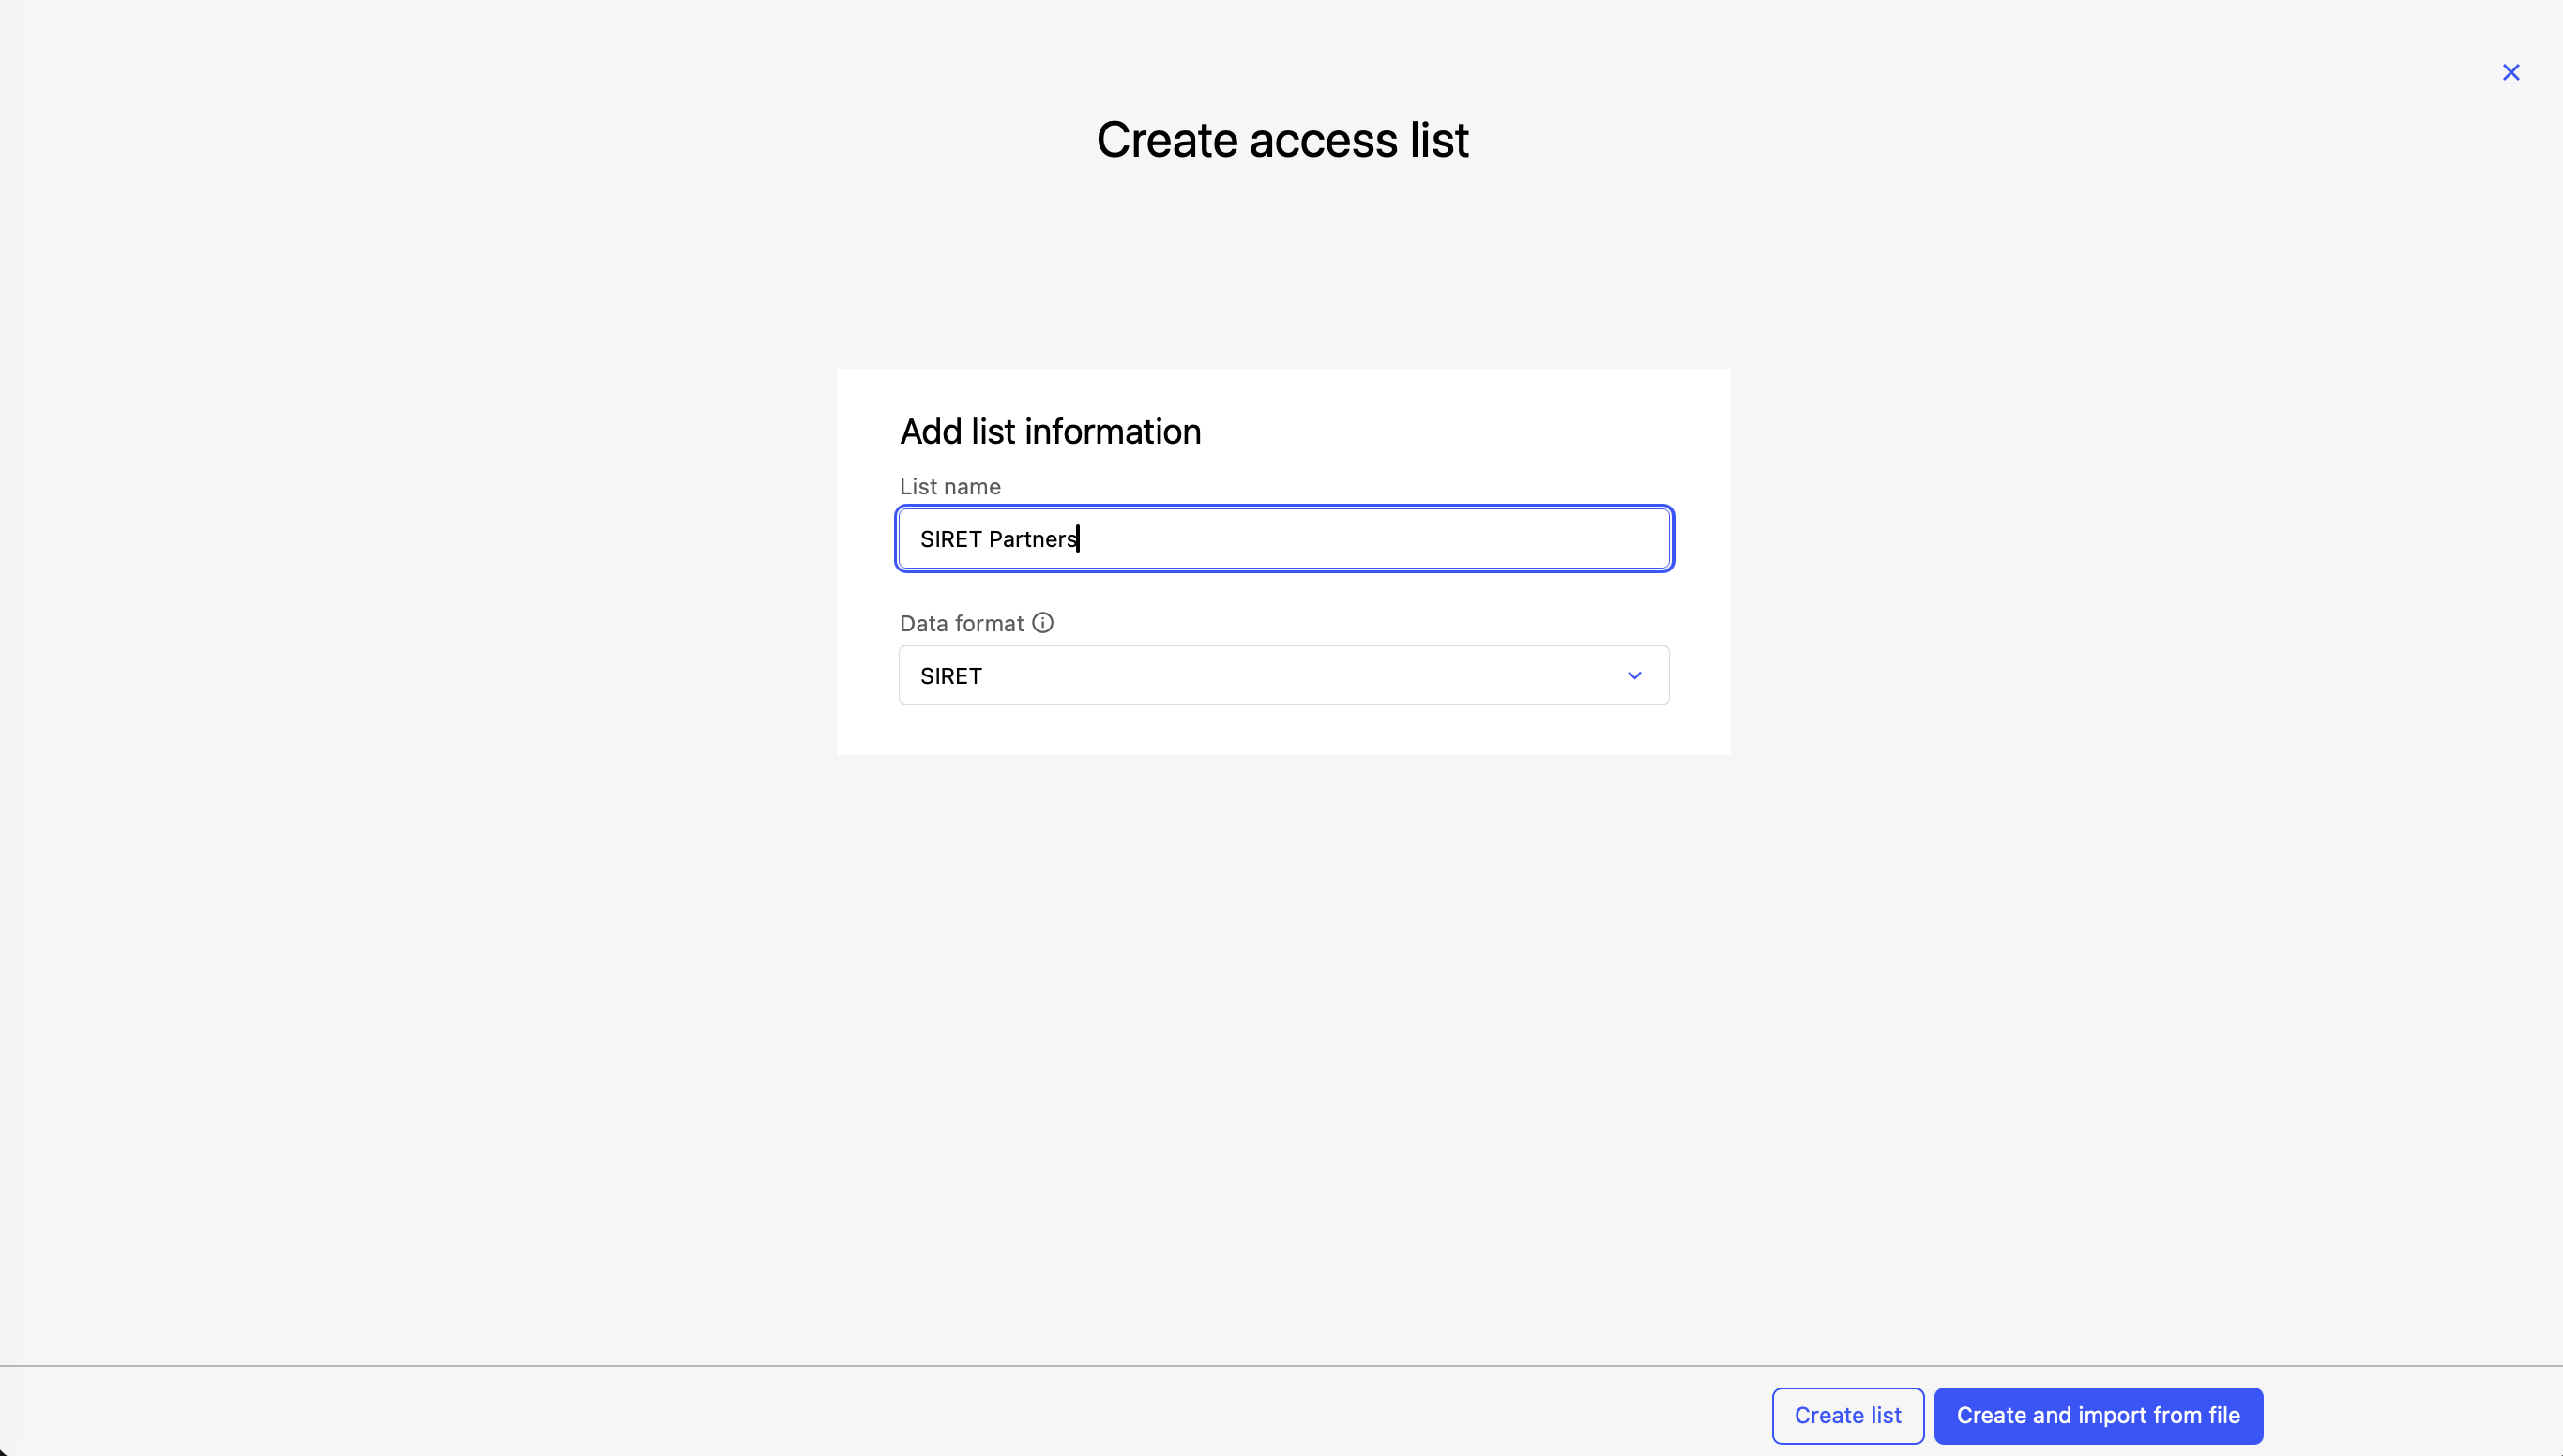
Step 1: Fill in the list information
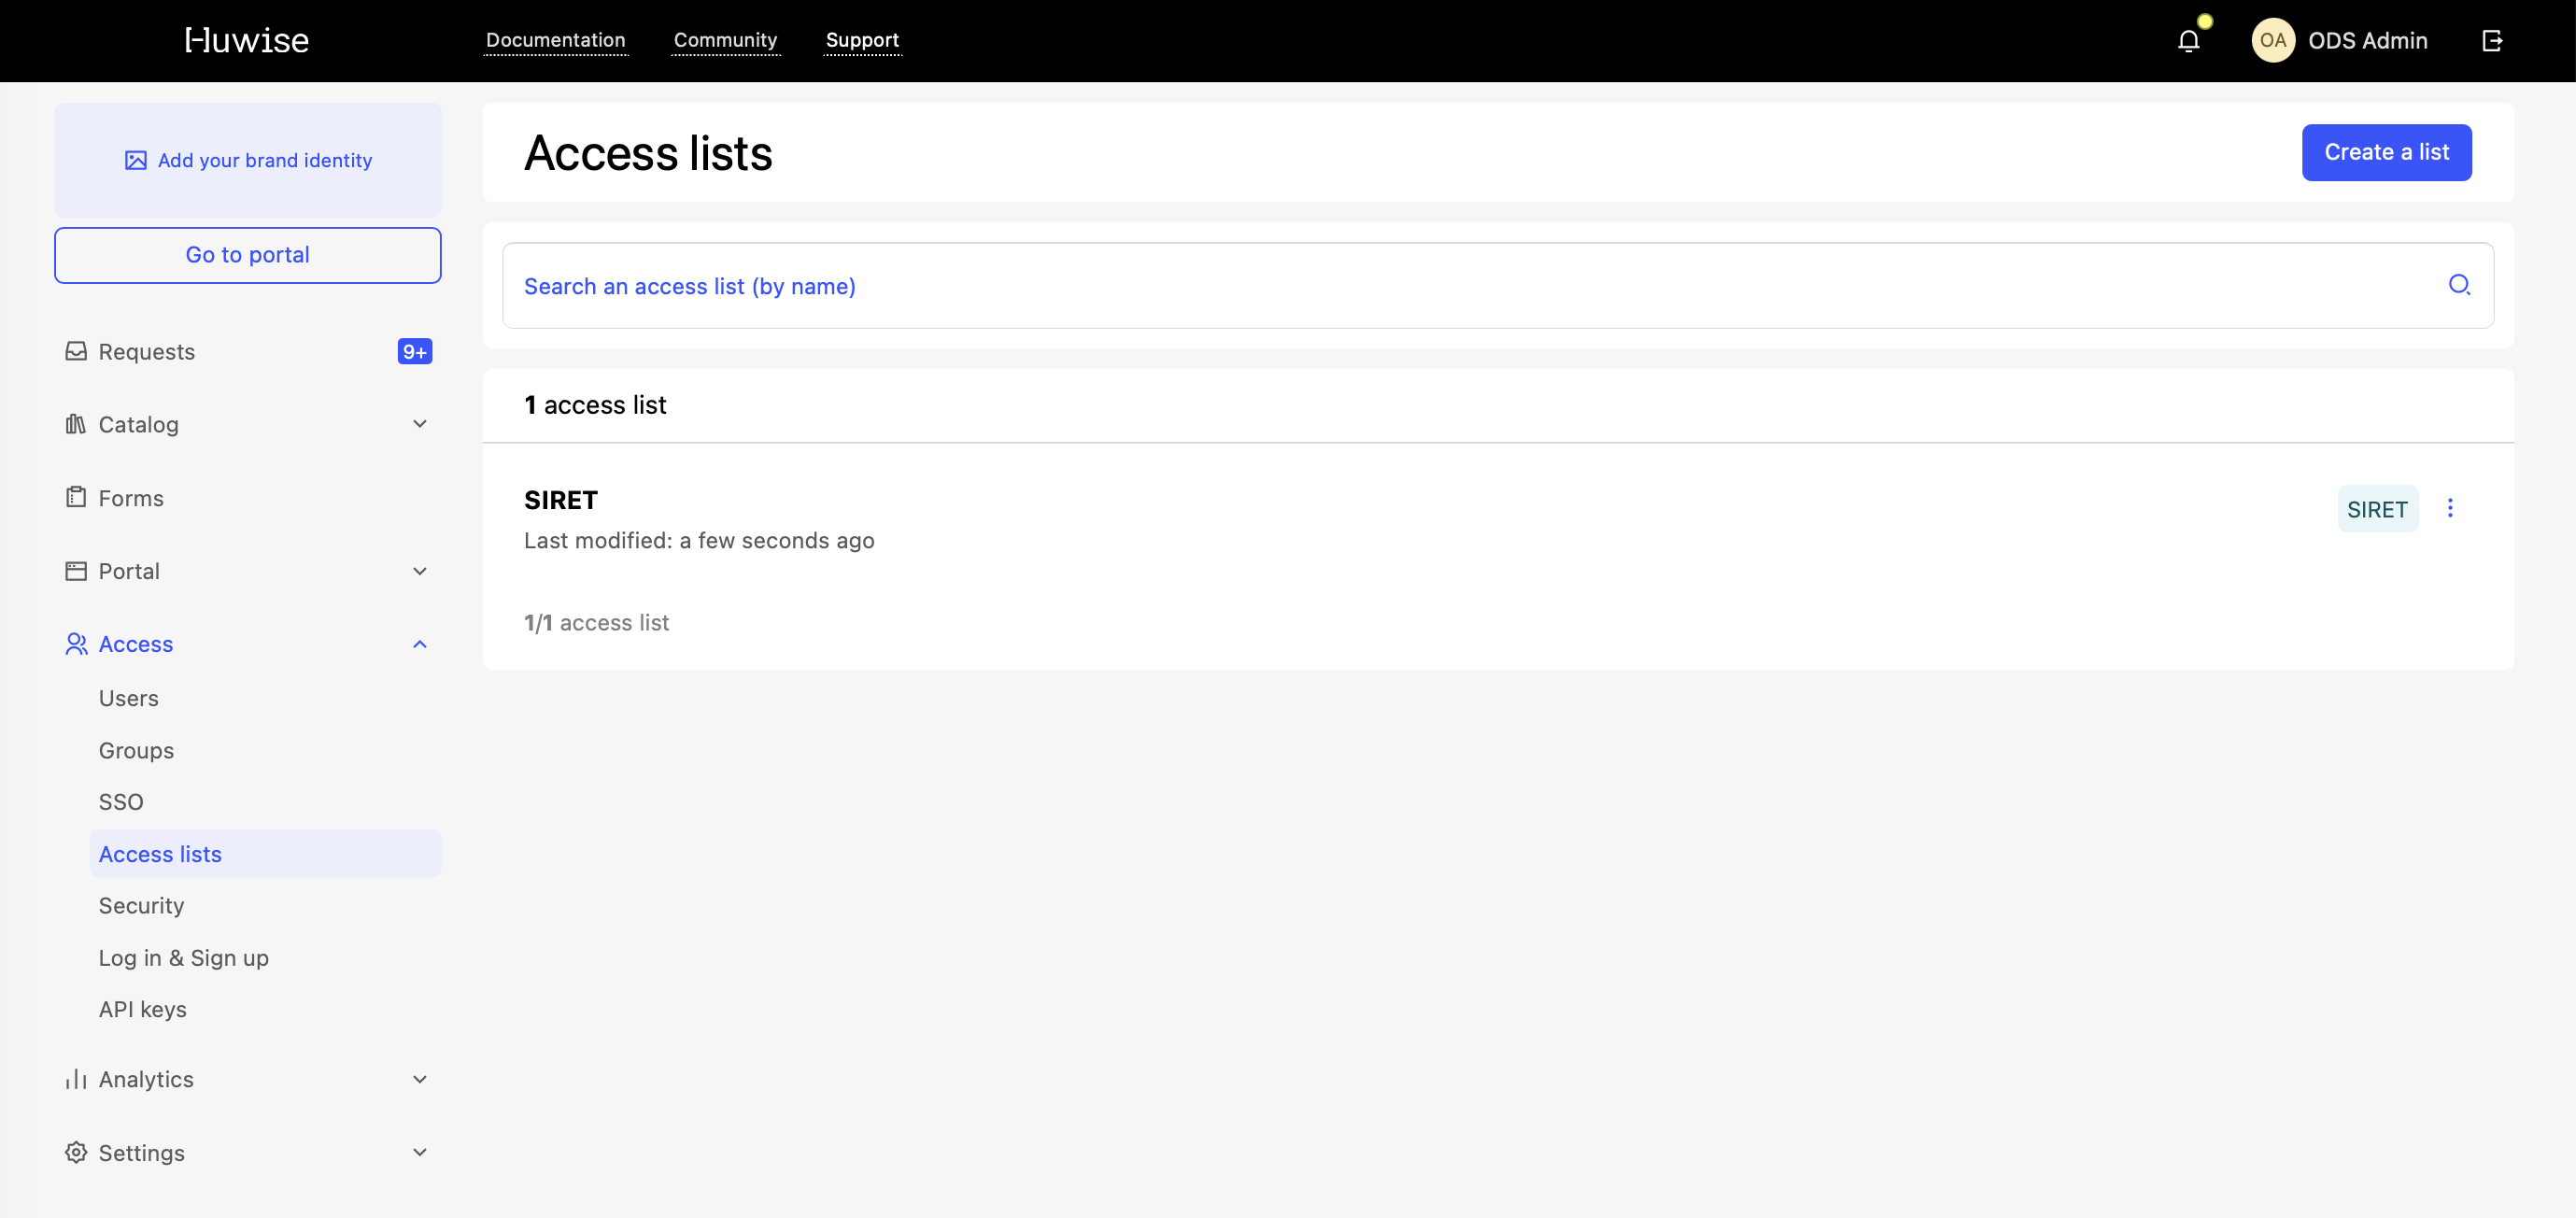
From the back office, go to Access > Access lists, then click Create a list.
Enter a List name. Availability is checked in real time as you type.
Select a Data type. This setting defines the expected format for all values in the list.
Note that the data type cannot be changed once the list has been created. Choose it carefully before confirming.
Step 2: Import values (optional)
Once the list information is filled in, you have two options:
Click Create list to create an empty list and go straight to the editor.
Click Create and import from file to move to the import step and populate your list right away.
If you choose to import, drop your CSV file into the upload area. Before any data is saved, the system shows a preview with the number of valid values, incorrectly formatted values, and duplicates found in the file. Review the results, then click Import to confirm.
Manage an existing access list
Click on a list row to open its editor. The editor has two parts: the list information at the top (name, description, identifier, modification history) and the values table below.
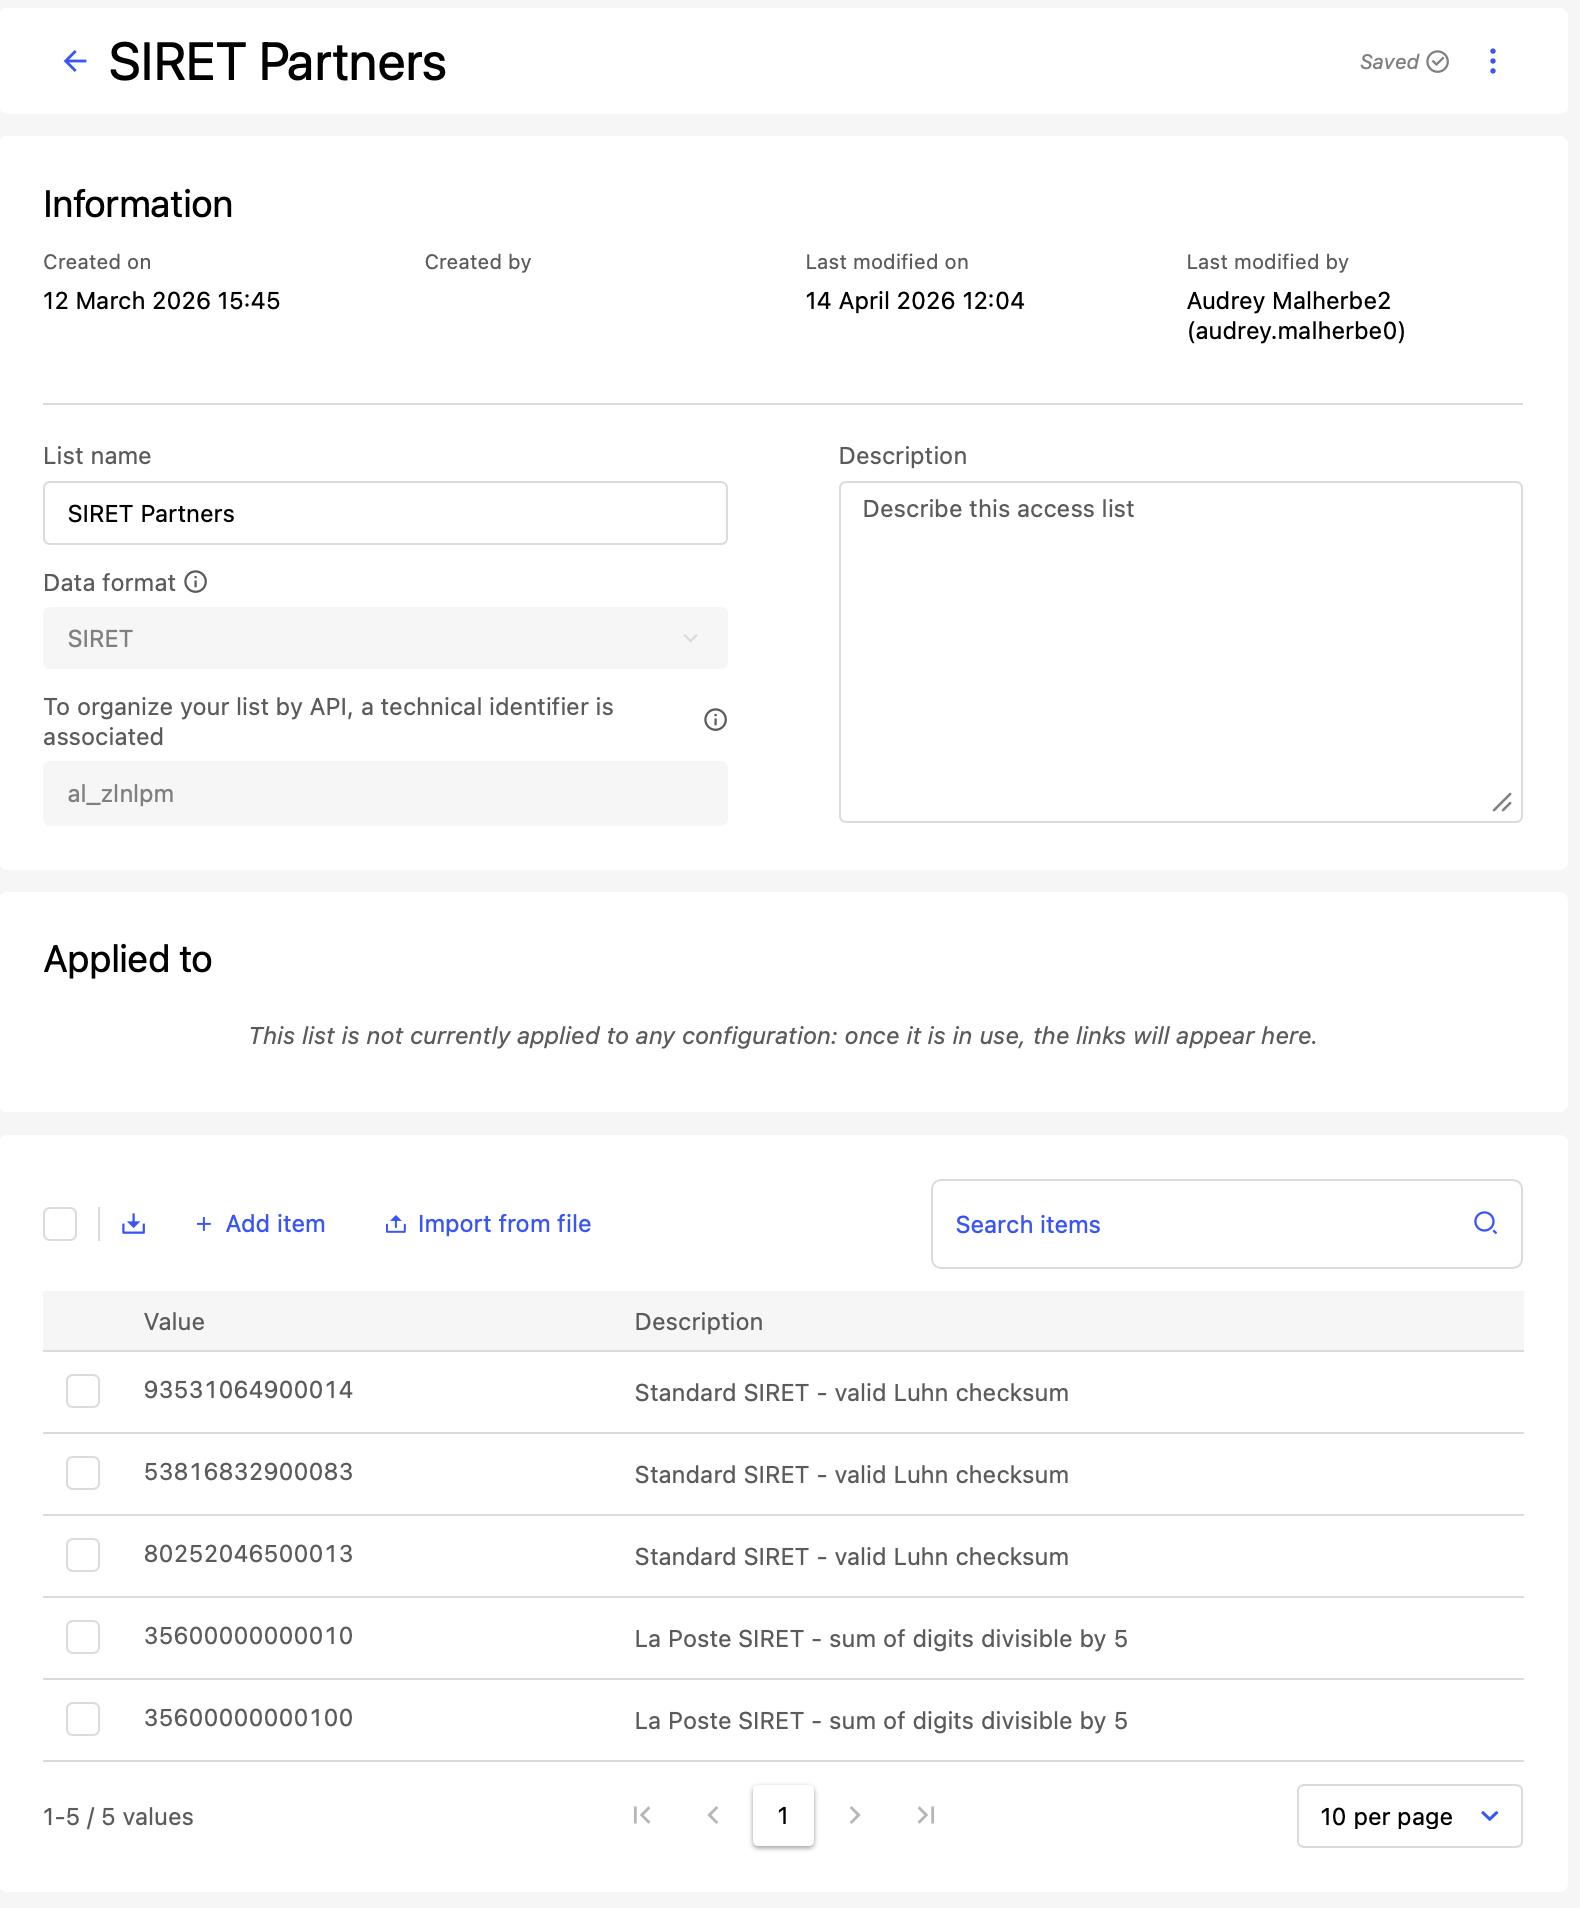
You can edit the Name or Description of the list at any time, then click Save.
Note that the name must remain unique across all lists in your portal.
From the main table (Access > Access lists), each row has shortcuts to duplicate or delete the list directly. Duplicating copies the list and all its values, and appends the original names with the suffix "copy."
Keep in mind that deleting a list is irreversible and permanently removes all its values. If the list is currently referenced by one or more access rules, a warning appears showing which identity providers use this list. The warning displays the Applied to section — a list of identity provider names whose access rules reference this access list.
Manage list items
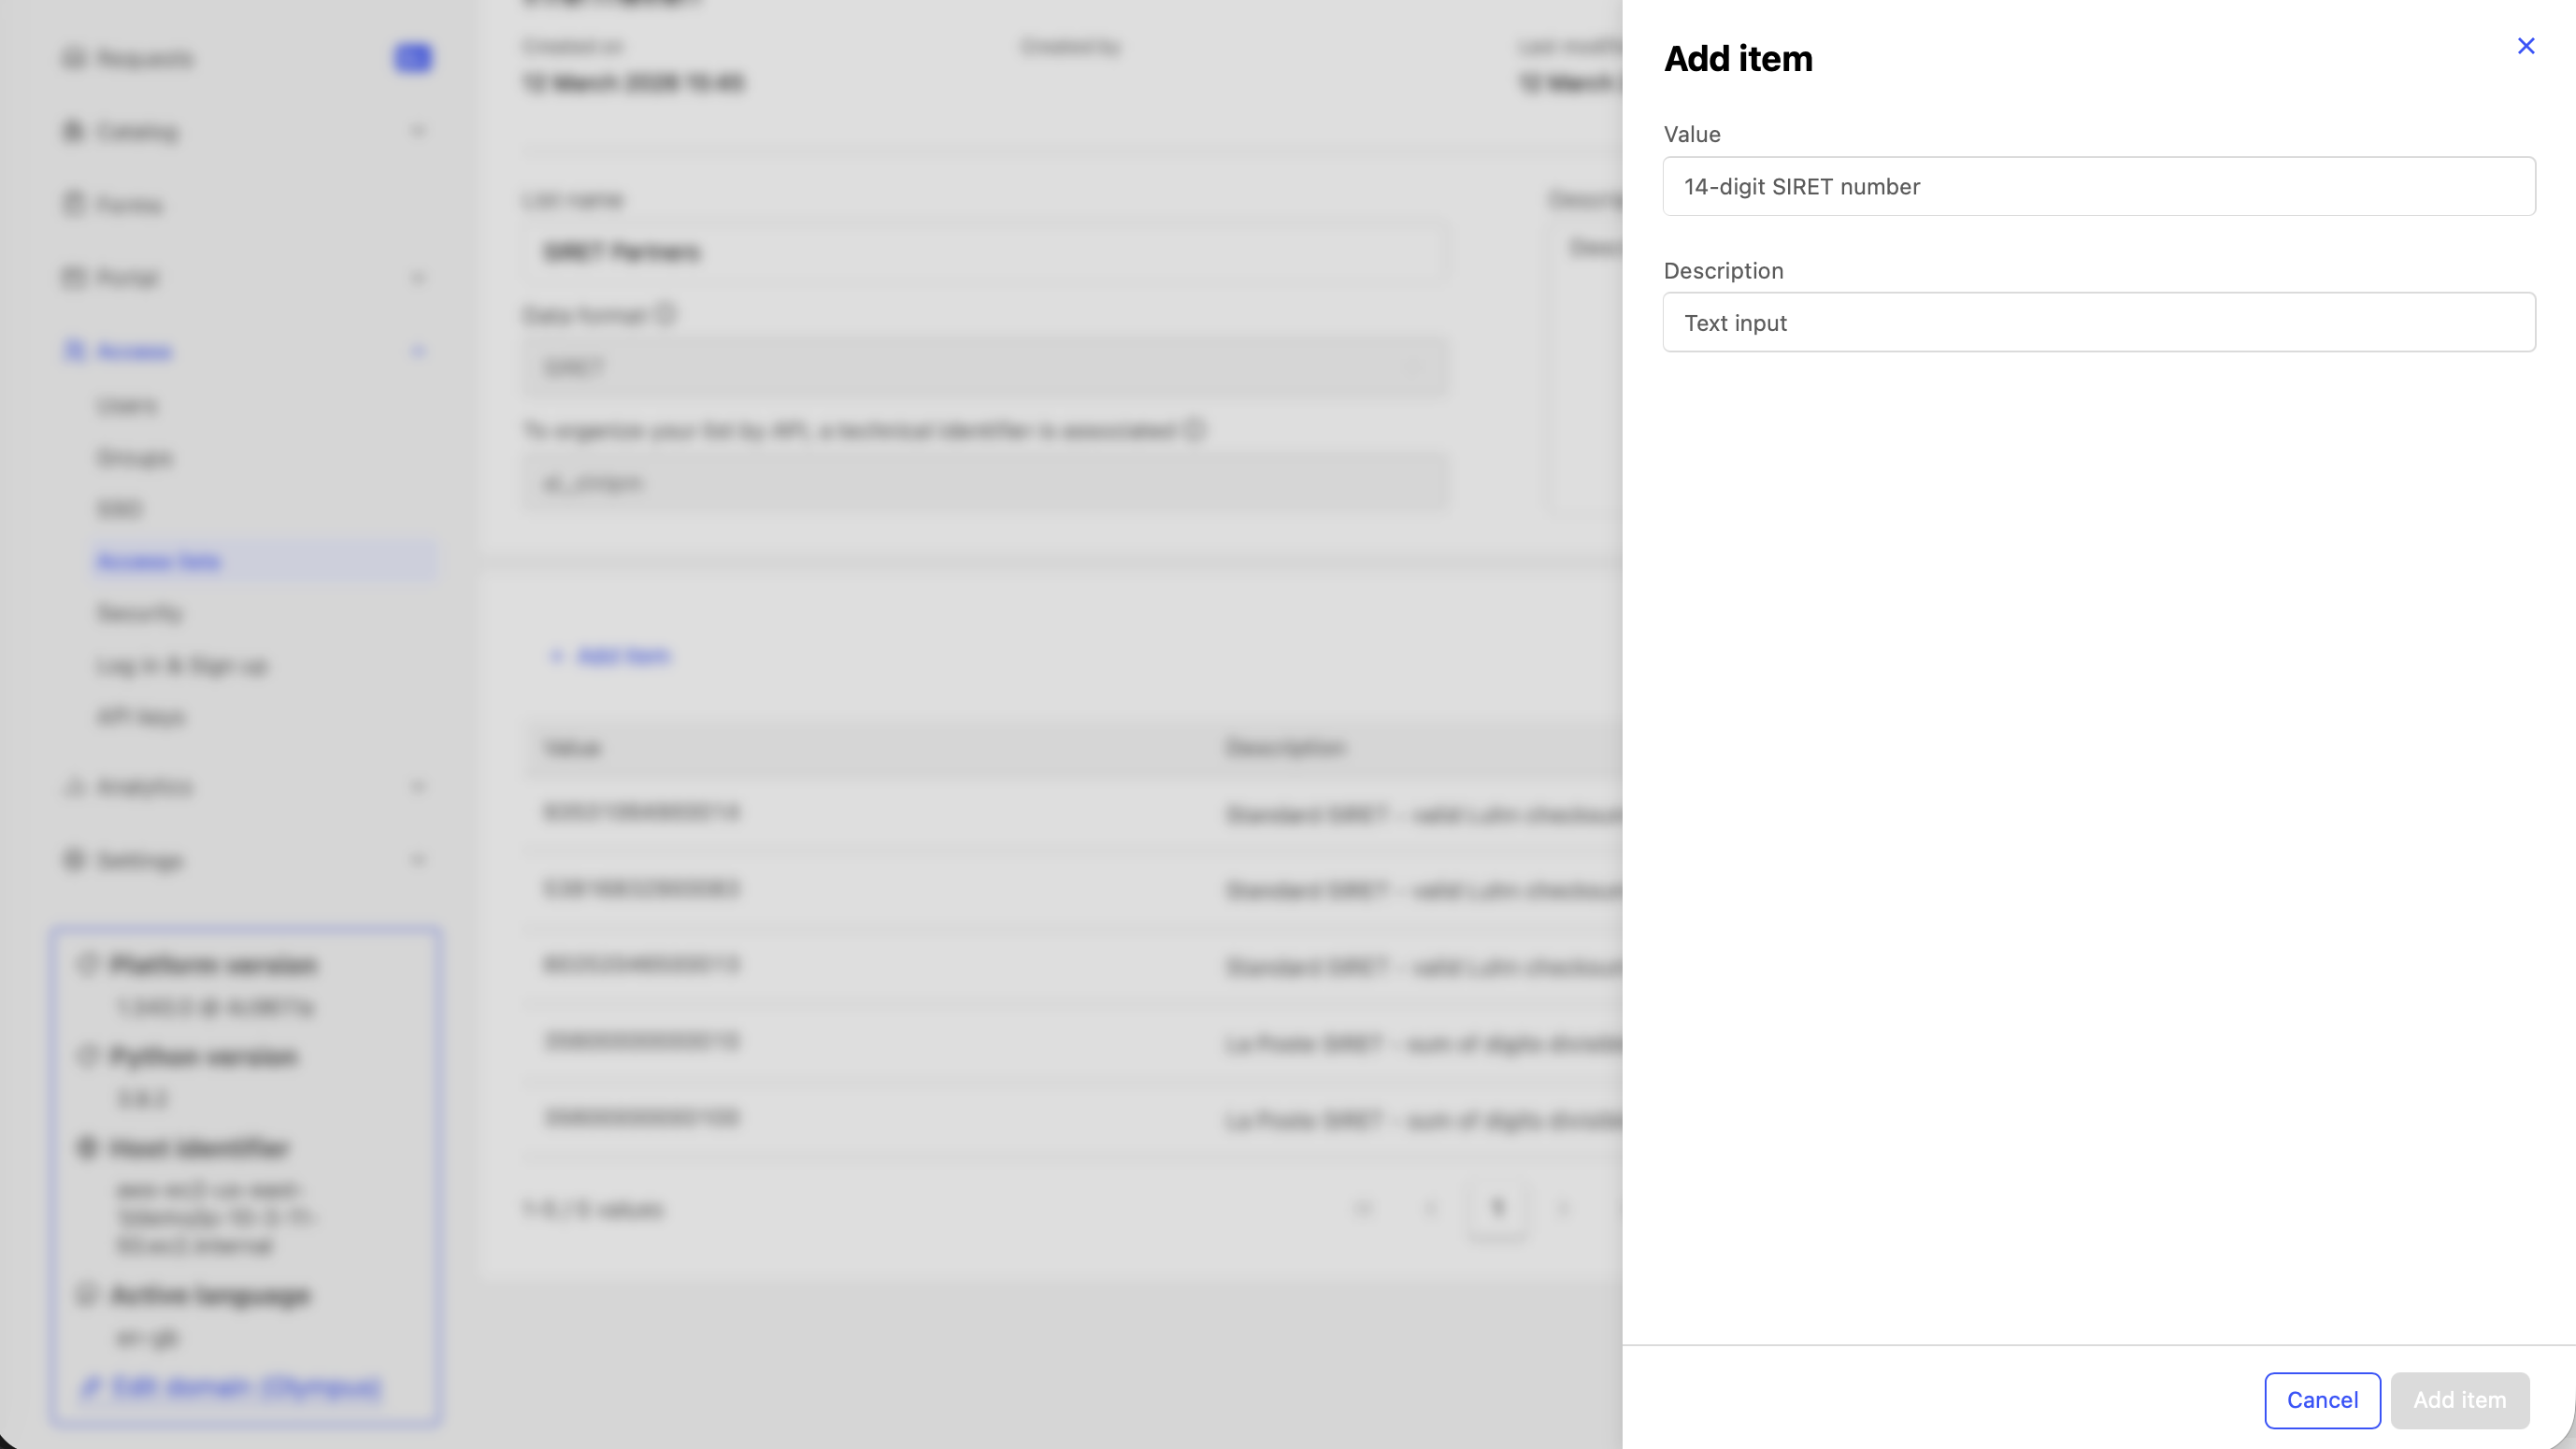
Add an item
From the editor, click + Add an item
Enter the Value (the expected format depends on the list's data type) and a Description (optional)
Click Save
Edit or delete an item
Hover over a value row to reveal the available actions: the pencil icon to edit its description, the trash icon to delete it.
To delete all values in a single operation, select Clear list from the Actions menu at the top right of the editor.
This action is irreversible.
Import values from a file
Bulk import lets you quickly populate a list from a CSV file.
Prepare your file
Format: CSV (
.csv), semicolon (;) or comma (,) delimiter — detected automaticallyMaximum size: 2 MB
Required headers:
valueanddescriptioncolumns in the first row
value;description
user@example.com;Marketing manager
contact@partner.com;Referenced partner
Import the file
From the editor, click Import from file and drag and drop your file
Review the preview for invalid values, duplicates within the file, and duplicates already present in the list
Choose how to handle existing duplicates — Skip (default) or Update the description
Click Import
After the operation, the system reports the number of values imported, updated, skipped, and the total processed.
Note that values with an invalid format are excluded without blocking the import of valid values.
Export list values
Click Export from the editor to download all values as a CSV file (columns value and description, semicolon delimiter).
Once your access list is ready
With items in your access list, you can reference it in conditional access rules of your identity provider. When creating a rule condition, select the is in list, is not in list, or is any of operator and choose your access list from the dropdown. Every time a user logs in, the rule checks their identity attribute against the current contents of the list.