
Controlling access with conditional access rules
The SSO feature is enabled on Advanced and Ultimate plans, and is otherwise available as an add-on.
Huwise allows access to your workspace to be managed through a single sign-on (SSO) authentication solution, and currently supports the OpenID Connect and SAML 2.0 protocols.
Conditional access rules let you decide, at login time, whether an SSO user is allowed into your workspace, denied access, or placed in a queue for portal administrator approval. Each rule inspects the user's identity attributes (claims for OIDC, assertion attributes for SAML) and triggers an action when its conditions are met. This gives you precise, attribute-based control over who can access your data marketplace.
How rule evaluation works
When a user logs in through an identity provider that has access rules configured, Huwise evaluates the rules in a specific order to determine the outcome. Understanding this order is key to building rules that behave the way you expect.
Here's what happens at each login:
1. Huwise fetches all active rules for the identity provider, sorted by priority (lowest number first).
2. For each rule, Huwise checks whether the user's identity attributes match the rule's conditions. If the rule uses AND logic, all conditions must match. If it uses OR logic, a match on any single condition is enough.
3. The first rule that matches determines the outcome. Huwise stops evaluating and applies that rule's action immediately.
4. If no rule matches, the catch-all rule applies. The catch-all is a default action that covers every user who doesn't match a specific rule.
There are three possible outcomes:
Action | What happens |
Approve | The user is logged in and can access the workspace normally. |
Reject | The user is denied access and sees an error page. |
Require approval | The user's login request is placed on hold. A portal administrator receives a notification and must approve or reject the access request before the user can access the workspace. |
Think of it like a bouncer checking a guest list: each rule is checked in order, and the first match decides whether the person gets in, gets turned away, or needs to wait for a manager's approval. If nobody on the list matches, the default house policy (the catch-all) applies.
Configuring rules
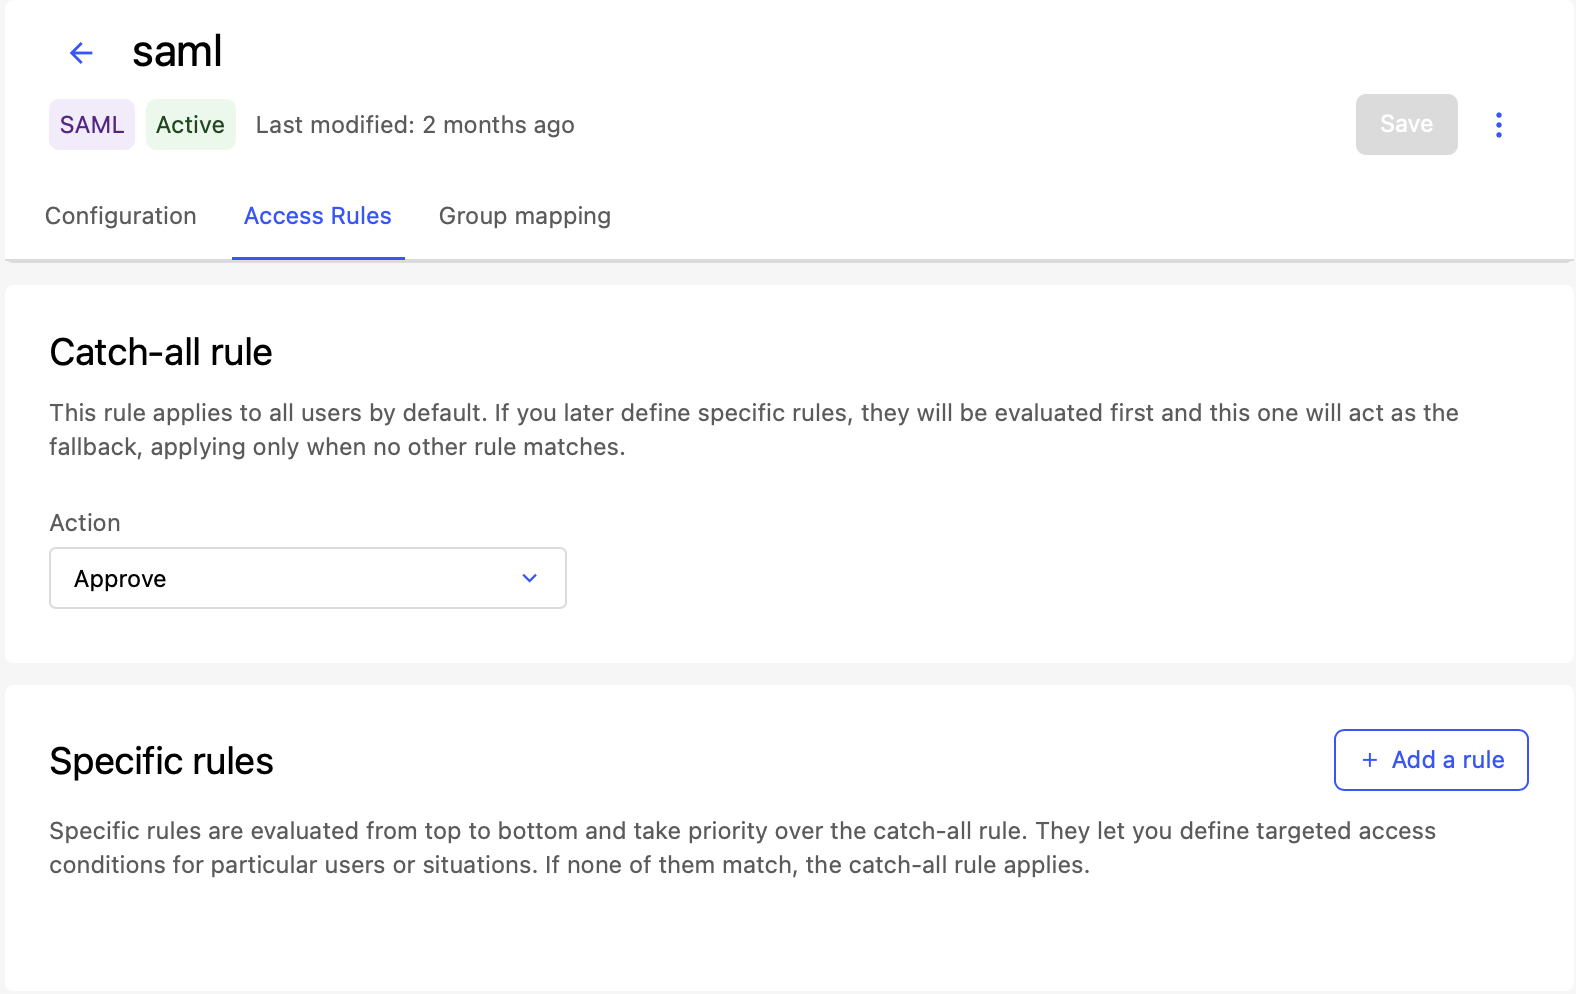
Set the catch-all rule
The catch-all rule is the default action that applies when none of your specific rules match a user's attributes. It acts as a safety net.
A common pattern is to set the catch-all to Reject and then create specific rules that Approve the users you want to let in. This ensures that only users who match your criteria can access the workspace. The opposite pattern, catch-all set to Approve with specific Reject rules, works well when you want to block a few known groups while allowing everyone else.
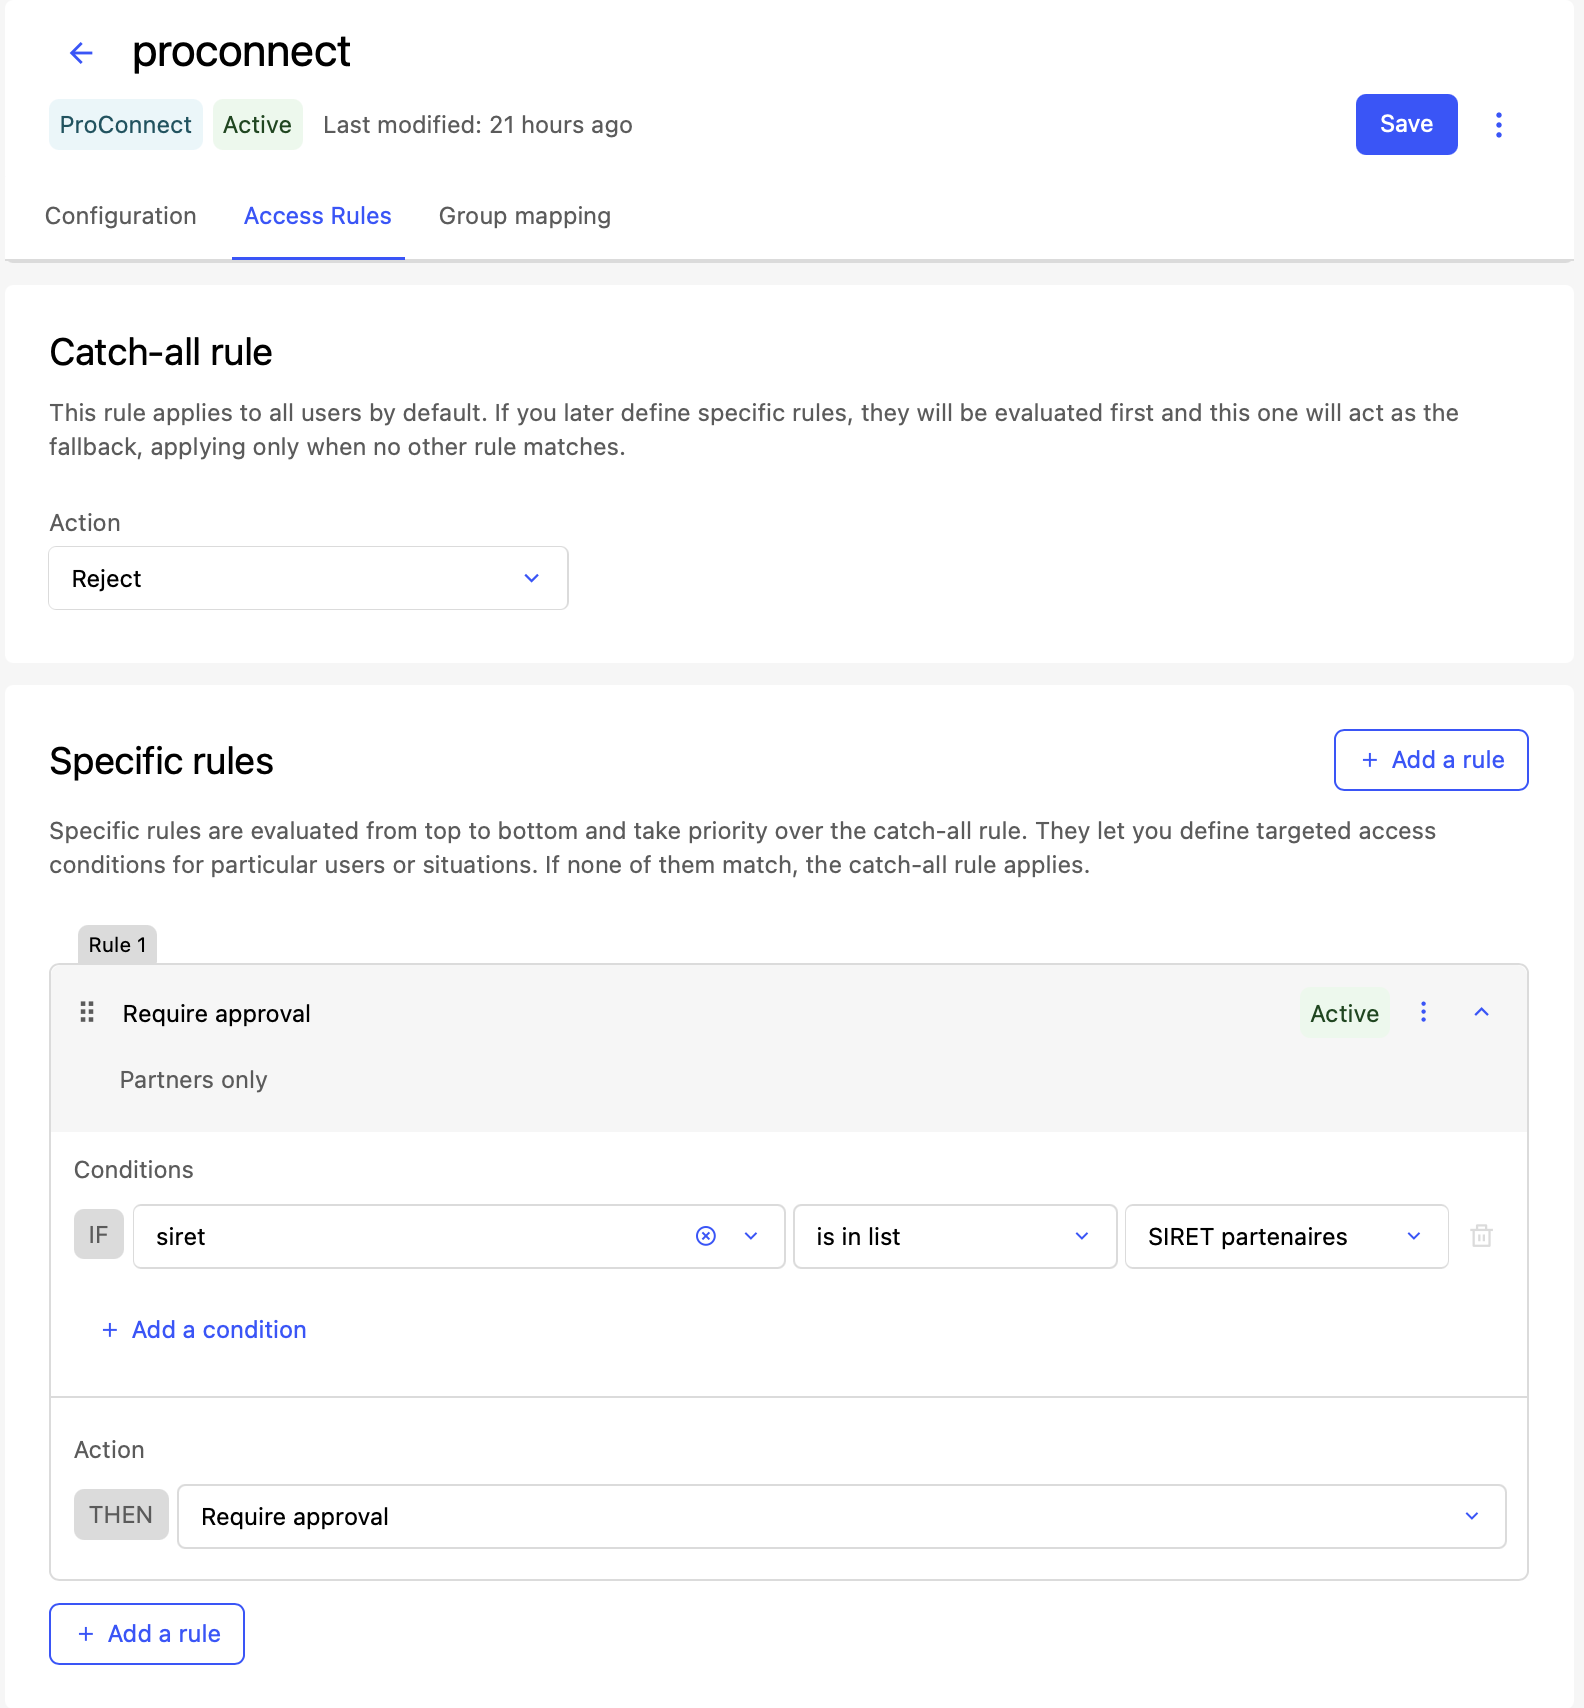
Add a specific access rule
Each rule defines a set of conditions and an action to take when those conditions are met.
Click Add a rule
Fill in the rule details
Description (optional): A human-readable note explaining the purpose of this rule (for example, "Allow data team members" or "Block external contractors").Action: Select Approve, Reject, or Require approval.
Condition logic: Choose how to combine multiple conditions:
AND: All conditions must match for the rule to trigger.
OR: A match on any single condition is enough to trigger the rule.
Add one or more conditions (see the next section).
Click Save.
Every rule must have at least one condition. A rule without conditions can't match anyone and has no effect.
Note that priorities must be unique across all rules for the same identity provider. Lower priority numbers are evaluated first. You can reorder rules to adjust their priority.
Each rule has an active toggle. When a rule is inactive, Huwise skips it during evaluation — as if the rule didn't exist. This lets you temporarily disable a rule without deleting it.
Because rules are evaluated in priority order (lowest number first), the order matters. A rule with priority 1 is checked before a rule with priority 2. The first matching rule wins, and all subsequent rules are skipped.
To change the evaluation order, adjust the priority numbers of your rules. Each priority must be unique across all rules for the same identity provider.
Note that saving applies all your changes at once. Huwise replaces all existing rules with the current state of the form. Before saving, review all rules and their priorities.
Your workspace may have limits on the maximum number of rules per identity provider (10) and the maximum number of conditions per rule (5). You'll see an error when trying to save if you reach one of those limits.
Define conditions
Each condition checks a single identity attribute against a value or a list of values. A condition has three parts:
Attribute: The name of the identity attribute to check. This must exactly match the attribute name as sent by the identity provider.
For OIDC providers: use claim names such as
email,groups,role, ordepartment.For SAML providers: use assertion attribute names such as
mail,memberOf, or OID-based names likeurn:oid:2.5.4.10.For nested attributes, you can use path notation (for example,
address.countryto access acountryfield inside anaddressobject).
Operator: How to compare the attribute against the value. See the full reference table below.
Value — What to compare against. Depending on the operator, this is either:
A text value (for is equal to / is not equal to)
An access list (for is in list / is not in list / is any of)
Nothing (for is present / is not present)
Attribute names are case-sensitive. If your identity provider sends Department (capitalized) but you enter department (lowercase), the condition won't match. Check your provider's documentation or first test it with the is present operator — see the table below — to confirm that the attribute name is correct.
Condition operators reference
Operator | Value type | Description |
is equal to | Text | Matches if the attribute value exactly equals the specified text. |
is not equal to | Text | Matches if the attribute value does not equal the specified text. |
is in list | Access list | Matches if the attribute value is found in the selected access list. Use this for single-valued attributes like |
is not in list | Access list | Matches if the attribute value is not found in the selected access list. |
is any of | Access list | Matches if at least one value from a multi-valued attribute is found in the access list. Use this for attributes that can contain multiple values, like |
is present | None | Matches if the attribute exists in the user's identity data, regardless of its value. Use this to test whether an attribute is sent at all. |
is not present | None | Matches if the attribute does not exist in the user's identity data. |
Choosing the right operator for multi-valued attributes
Some identity attributes carry more than one value. For example, a groups claim might contain ["engineering", "data-team", "all-staff"]. The operator you choose determines how Huwise handles these lists:
is in list — checks whether the entire attribute value (as a single string) appears in the access list. This is best for attributes that carry a single value, like
emailordepartment.is any of — checks whether at least one item from a multi-valued attribute appears in the access list. This is the right choice for attributes like
groups,roles, or any claim that returns an array of values.
Use access lists in conditions
Three of the seven operators (is in list, is not in list, and is any of) compare the user's attribute against an access list rather than a single text value. Access lists are curated collections of values that you manage separately. For example, you might create an access list of allowed SIRET number or approved department codes.
You need to create access lists before you can reference them in conditions. See this article for more information.
What users see
The action triggered by a matching rule (or the catch-all) directly affects what the user experiences after logging in through the identity provider.
When access is approved
The user is logged into the workspace normally. They don't see any extra screens or messages, the login flow continues as if no access rules existed.
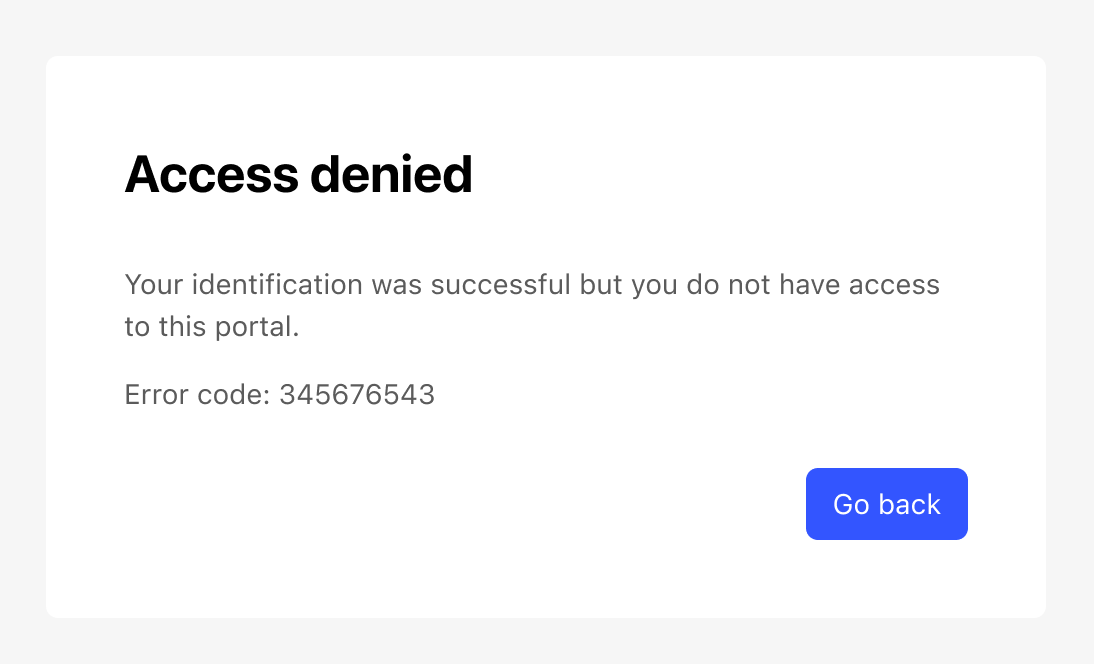
When access is rejected
The user sees an access denied page after authenticating with their identity provider. The page indicates that they don't have permission to access the workspace. They aren't able to proceed further.
When approval is required
The user sees a "pending approval" page explaining that their access request has been submitted. A notification is sent to the portal administrators of the workspace. The user can't access the workspace until a portal administrator approves their request.
Once a portal administrator approves the request, the user can log in normally on their next attempt.