
Single sign-on with OpenID Connect
The SSO feature is enabled on Advanced and Ultimate plans, and is otherwise available as an add-on.
Huwise allows access to your workspace to be managed through a single sign-on (SSO) authentication solution, and currently supports the OpenID Connect and SAML 2.0 protocols.
Before you begin
To set up an OIDC provider, you'll need the following information from your identity provider's administrator:
Client ID: The unique identifier assigned to your Huwise application in the identity provider.
Client Secret: The confidential key associated with your Client ID.
Issuer URL: The URL where Huwise can automatically fetch the provider's configuration.
You'll also need to share a few Huwise URLs (redirect URI, logout URIs) with your identity provider's administrator so they can allowlist them. These URLs are displayed in the Huwise configuration form once you've created the provider.
Setting up an OIDC provider
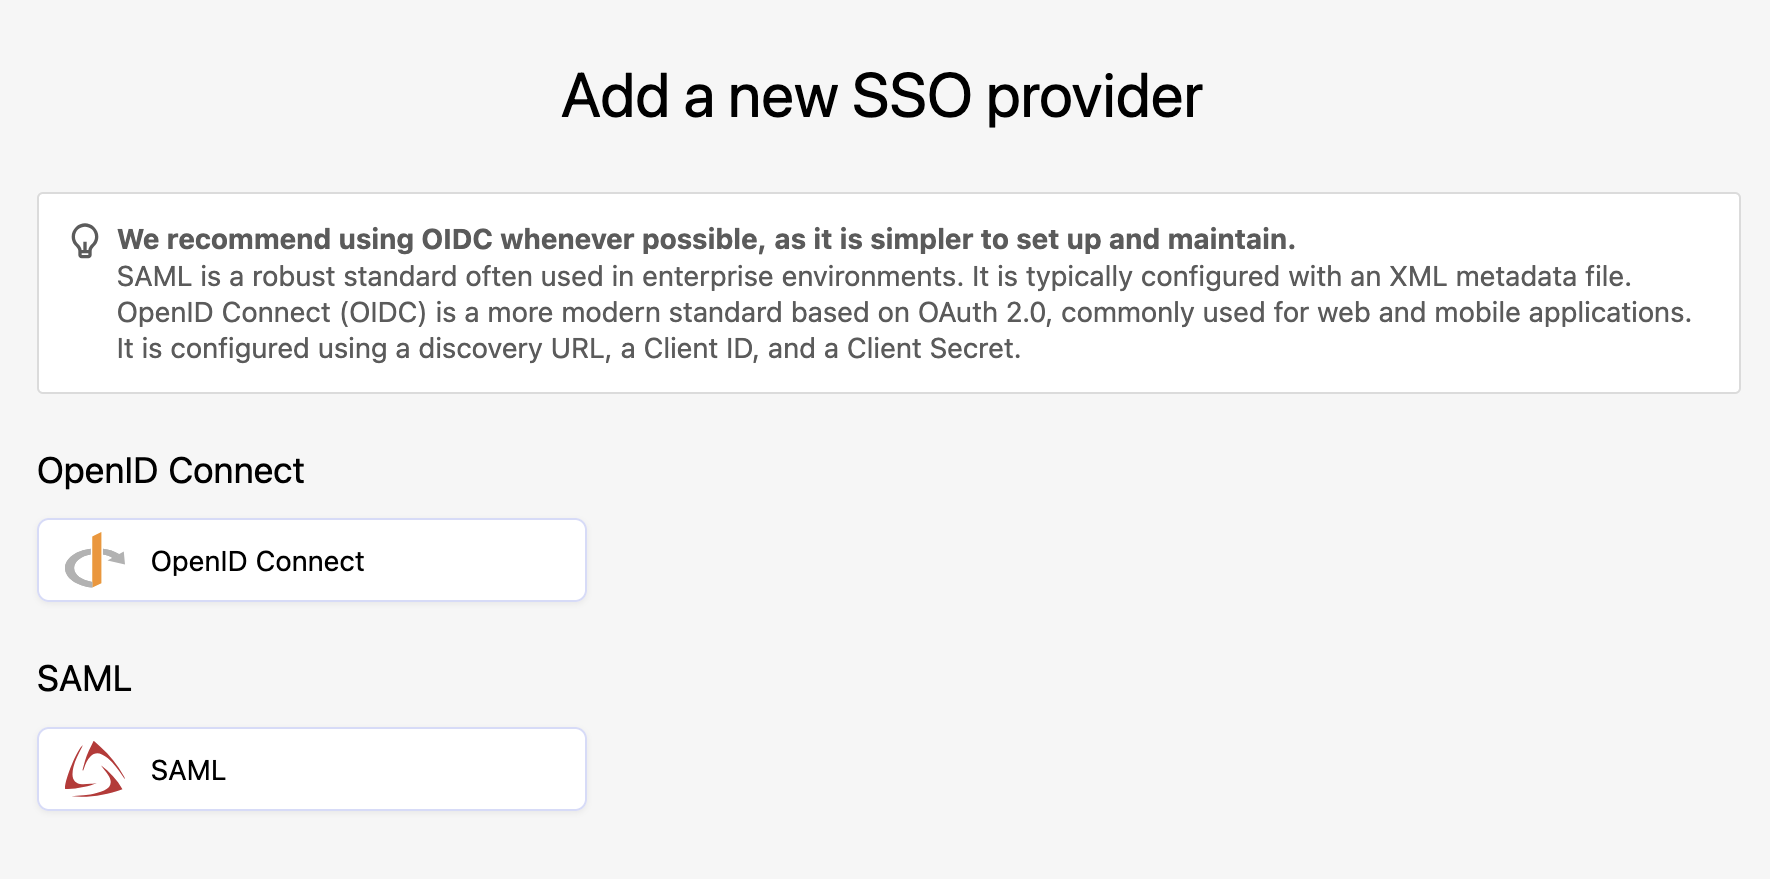
In the back office, under Access > SSO, click on Add a provider in the upper right-hand corner, then click on the OpenID Connect button.
Make sure your provider's page is open during this configuration, as you'll need to both retrieve information from it and add information to it.
You have five steps to complete, clicking Next as you complete each step:
Step 1: Provider type
Select OpenID Connect.
Step 2: Name
Enter in the name you wish to use for this provider configuration. This is the name you'll see in your list of providers.
Step 3: Credentials
You need to copy the information from here — redirect URI, back-channel logout URI, and post-logout URI — and past it into your identity provider's configuration interface.
When creating the identity provider, the redirect URI you configure is also the URL that end users will use to log in. Make sure this URL is correctly defined and communicated to users who will authenticate through this provider.
Step 4: Identity
Your identity provider will provide either a URL or a file to allow you to connect to it. We recommend using the URL whenever possible, as it is easier to manage and keep up to date.
Step 5: Service
Enter the client ID and client secret provided by your identity provider. Make sure these values match exactly what is configured on the provider side, as incorrect credentials will prevent authentication.
Authentication Context Class Reference (ACR) values are optional and only required for advanced authentication configurations.
Click Create provider. Your new configuration is now created and appears in the list. You are then redirected to the identity provider edit page, where you can finalize the configuration by accessing additional settings, configuring group mappings if needed, and activating the provider.
Editing an OIDC configuration
When editing a configuration, you have access to a Configuration tab, an Access rules tab and a Group mapping tab.
Configuration tab
The Configuration tab gives you access to all of the information provided when the configuration was first set up, such as the name you gave the configuration and information you used to configure your identity provider, or the URL or file you used from your IdP for the configuration.
Advanced settings
Note that under "Advanced settings," you will find options to manage your configuration's scope and attributes, such as the first name, last name, and email claims. These default to OIDC standard attributes but can be specified differently if necessary.
Additional scopes: Extra OAuth scopes to request beyond the defaults (
openid,profile,email). Scopes in OpenID Connect are used to define the set of information (claims) an application would like to receive about a connected user.
You can use additional scopes to add claims as additional attributes in a user's profile and use them in a dataset's security filters and group mapping.
Additional claims: Extra claims to request from the identity provider. These claims become available in the user's profile and can be used in group mappings , access rules or in a dataset's security filters. You can see these claims in user profile (user page, portail access request and user list in group page).
Authentication Context Class Reference (ACR) values: Optional and allow you to request a specific authentication level from the identity provider (for example, multi-factor authentication).
Leave this field empty unless your identity provider requires specific ACR values.
Security & behavior
Under "Security & behavior," you have four toggles, all turned off by default:
Disable local user provisioning: If enabled, users who sign in via OIDC will not have an account automatically created on the portal if one doesn't already exist.
Accept login for users whose email has not been verified: By default, only users with an email_verified claim set to true in their ID token will be allowed to log in.
Upon logout, also logout from OpenID provider: Also known as Single Log-Out (SLO). When enabled, when a user logs out of this portal they will also be logged out from the identity provider. This requires a valid end_session_endpoint from your provider's configuration.
Enable direct authentication with JWT bearer tokens: When enabled, non-interactive (machine-to-machine) authentication is allowed using a signed JWT, typically for API calls. This is an advanced use case.
Log in & profile
Under "Log in & profile," if a URL is provided, users logging in will see a link on their profile page to manage their account at the identity provider. You can provide language-specific labels for this link. Additionally, you can customize the SSO login button on your workspace's login page, which is helpful if you have multiple identity providers.
URL for OpenID Connect user account configuration: A URL pointing to the user's account page on the identity provider. If set, users can navigate to their identity provider's account settings from the profile account page.
Login button label: Set a custom label for the SSO button (e.g., "Log in with Azure AD"). Different labels can be provided for each configured language.
Login icon: Upload a custom icon (e.g., your organization's logo) to display next to the login button label.
Access rules tab
For information on how to define conditional access rules to control who can log in, see here.
Group mapping tab
For information on how to map your SSO groups to your Huwise groups, see here.